")


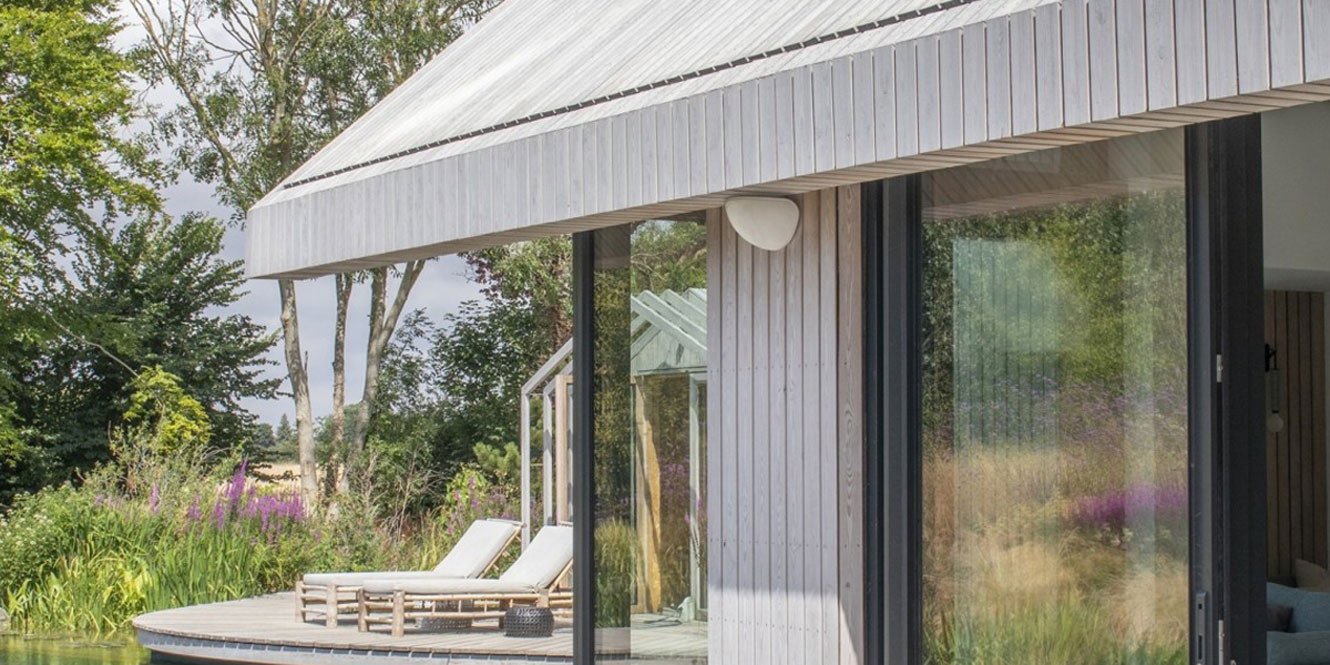
When the sun is shining, all anyone wants to do is take the music outdoors. But sometimes a portable speaker just doesn’t cut it. So, how can you create a permanent setup that’s ready for you whenever the clouds part?
In this in-depth guide, we’ll show you how to install outdoor speakers, giving you all the tricks and tips you need to know. As there is quite a lot to go through, we’ll focus just on passive speakers. So, let’s get started.

Key takeaways
- First, plan your system setup
- Next, choose where your speakers will go
- Mark your drill holes
- Actually drill those holes
- Insert the raw plugs with a hammer
- Feed the cables through
- Connect the speakers and cables
- Route the cables
- Connect the cables to the electronics
- Test your system
- Apply sealant
Why use outdoor speakers?
With summer on the way and BBQs, family, and friends soon filling the calendar, it’s a natural time to think about outdoor speakers. A bit of background music can make all the difference and help a garden party get into full swing.
With outdoor speakers, you don’t have to dash back inside to grab your portable Bluetooth speaker when the British weather inevitably turns. They also give you more even sound coverage, so you avoid those spots where the music’s too loud to talk, while others can barely hear it.
That’s the beauty of outdoor speakers. Like indoor speakers, they’re more practical for groups than large portable Bluetooth options. They don’t run out of charge, and there’s no need to run a power cable across the garden, which can quickly become a trip hazard.
What’s more, how often have you turned the hi-fi up indoors just to hear it outside? It usually creates more of a nuisance than it’s worth. With outdoor speakers, you can keep the volume at a comfortable level so everyone can enjoy the music without it overpowering conversation.
Equipment checklist
Audio components
- Indoor amplifier receiver: To power passive outdoor speakers
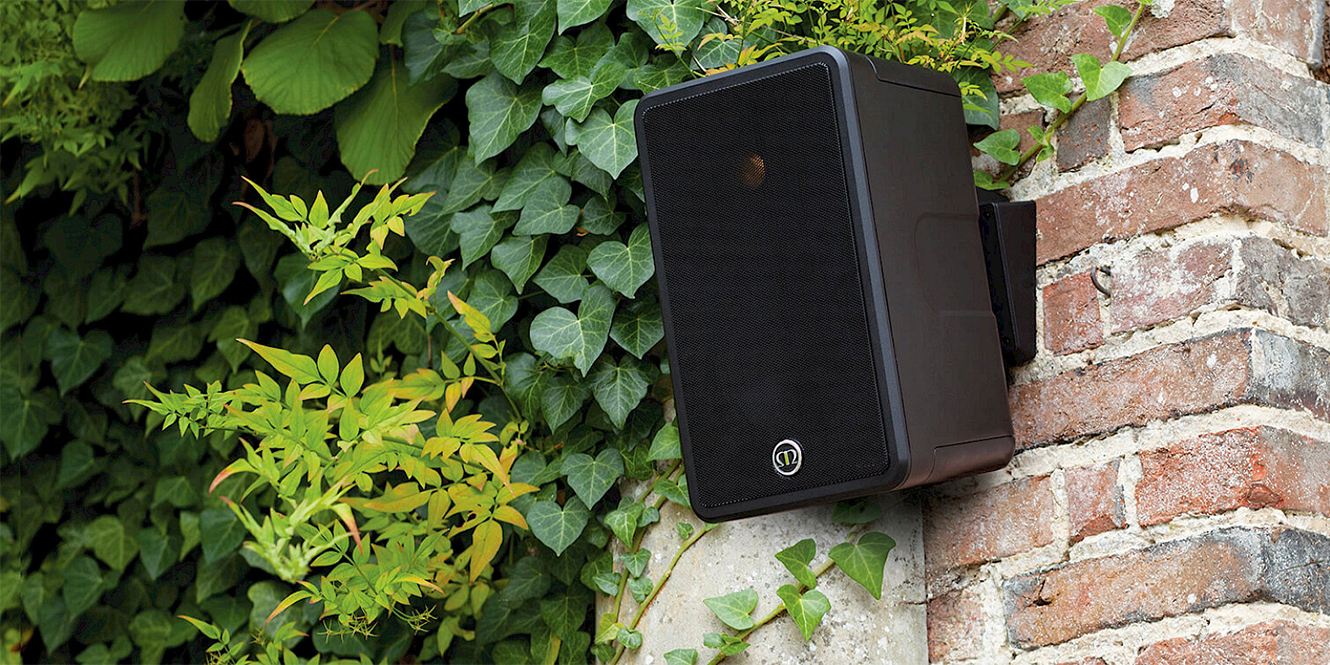
- Passive outdoor speaker: Usually wall-mountable, complete with brackets
- Speaker cable: 16/2 or 16/4 AWG CL2 or CL3 outdoor cabling is recommended
- Outdoor cable plugs (optional): To attach to the speaker terminations
- Conduit (optional): Protect it from the elements in the ground
Tools and materials
- Ladders
- Bradawl
- Drill and drill bits
- Screwdriver
- Raw plugs
- Screws
- Sealant with sealant tool
- Wire cutters
- Wire stripper
- Spirit level
- Tape measure
- Electronic stud finder tool
- Hammer
- Marker pen
- Cable staple gun
- Cable staples
- A friend to help
Optional: cable clamps, 2×15 meters lengths of thick string, a metal coat hanger, and insulation tape.
How to install outdoor speakers
1. Plan your system setup
Start by deciding what you want from the system. You might use it as an additional zone, link it to another system via a dedicated streaming amplifier or receiver, or set up a completely standalone system. These are all viable options, depending on how you plan to use the system.
If you’re using an additional zone, it’s worth noting that 16 AWG speaker cable has a recommended maximum length of around 15 metres before resistance and high-frequency loss become an issue. If you need a longer cable run, linking to an existing system will usually give better results.
If you’re linking to an existing system, make sure all products can communicate with each other. Brands like WiiM produce a range of products that are well-suited to party modes, while still allowing independent control via a remote, smartphone, or tablet app. It’s also worth noting that speaker cable isn’t recommended for runs over 15 metres.
For completely independent systems, as long as you have a strong enough Wi-Fi signal strength and your speaker cable isn’t further than 15m away, it should all work fine.
It’s also worth considering your Wi-Fi signal strength, as this is often overlooked but easy to improve with a compatible router or a powerline Wi-Fi extender. Your router manual should inform you further.
As a guide, hi-res audio typically requires around 5 to 10 Mbps, while standard streaming usually needs between 1 and 5 Mbps.
Bluetooth connectivity also has its limits, especially when the source device is indoors and the speakers are outside. In most cases, you can expect a range of around 5 to 10 metres. You’ll also need to ensure your amplifier has access to a nearby mains power connection.
2. Choose your speaker location
In most cases, outdoor speakers come with a swivel mounting bracket, allowing you to fix them to a wall. These brackets are usually removable, so you can mark out your fixing holes without having to hold the speaker in place.
If the bracket is smaller than the height of the speaker, make sure you factor the speaker’s full height into your measurements before drilling.
Outdoor speakers are typically mounted between 2.4 and 3 metres off the ground, and spaced around 3 to 6 metres apart to help achieve more even sound coverage. These measurements will ultimately depend on your specific setup and requirements. It’s also worth keeping the 15-metre cable length guideline in mind when running cables back to your electronics.
Check visually – and with the stud finder – for any obstacles that might be obstructing the hole path of the speaker bracket and speaker cable.
3. Mark your drill holes
For this step, you’ll need a friend to help you steady the ladder. You then have two options. You can either drill through the wall behind each speaker to bring the cables indoors or run the cables externally to a single point where they meet, then drill one hole through to the inside.
Whichever approach you choose, you’ll still need to map out the cable route from the speakers back to your electronics. Use a friend, a ladder, a tape measure, a pen, a notepad, and a length of string to estimate each cable run, making sure you stay within the 15-metre guideline. If you exceed this, you may need to reduce the distance between the speakers to compensate.
Once you’ve confirmed your measurements, use a marker pen to clearly mark where each drill hole is needed. When you’re confident with the positioning, use a bradawl to create a small centre point at each mark, making it easier to drill accurately for the wall brackets.
4. It’s time to get serious and drill those holes
When drilling, you’ll need to choose the correct drill bit for the surface. For brick or stone, use a masonry bit; for wood, use a wood drill bit. If wall plugs are supplied with the outdoor speakers, make sure you use the recommended drill bit size to match them, and check that your cable holes are sized appropriately for the speaker cable.
If you’re routing each speaker cable indoors directly from the mounting points, you’ll need a drill bit long enough to pass through the full wall thickness, including both brickwork and any cavity.
Double-check for obstacles with the visual look and stud finder, both indoors and outdoors, where you’ll be drilling from outdoors. If the height seems close to the internal ceiling, then measure again before drilling.
5. Insert the raw plugs
Once all the drill holes have been completed, insert the raw plugs into the speaker bracket holes and tap them in flush with the hammer.
6. Feed the cables through
If the speaker cable holes are close to the mounting points, you can feed the cables through at this stage. You can also unwind the metal coat hanger and secure it with insulation tape to use as a guide if needed. Leave enough cable outside to work with.
Using wire strippers, remove around 15 mm of insulation from the ends, then attach any optional weatherproof plugs, matching the correct colours. Once everything is in place, you can pull any excess cable through later. Inside, add a small piece of insulation tape to one cable to identify it as either the left or right speaker.
Depending on the type of speaker bracket, mount each one using a spirit level, a screwdriver, and the correct screws for the wall plugs you’re using.
Tighten the screws enough so the bracket can still be adjusted. Use the spirit level to position it correctly until the bubble shows it’s level, then fully tighten the screws to secure it in place.
7. Connect your speakers and cables
Attach the outdoor speakers to the wall brackets, then connect the cables. Insert the bare wires into the correct terminals, ensuring black goes to negative (–) and red or white to positive (+).
Once connected, pull any excess cable through from indoors to remove slack, leaving enough for minor speaker adjustments. You can then secure the cable to the wall as an initial fixing point.
8. Route your cables
You should already have planned a cable route back to your electronics, which now needs to be secured in place. If you’re running the cable outdoors, use a drill, a suitable drill bit, wall plugs, screws, and cable clips to create a neat path to the entry point, then bring the cable indoors following the same steps as before.
If the cable is already inside, a staple gun with cable staples can provide a clean and secure way to fix it along the route back to your electronics. If the cable run is visible, using conduit can help achieve a neater finish.
9. Connect the cables to your electronics
Connecting the speaker cable to your electronics is much the same as connecting it to the outdoor speakers, as covered in step 8. Use wire strippers to remove the insulation from the cable ends, then connect them to the appropriate terminals. Speaker cable plugs can be used if preferred, but they’re optional.
For the speaker you’ve marked as left or right, connect the black wire to the negative (–) terminal, and the red or white wire to the positive (+) terminal on the amplifier. If you’re unsure which cable runs to which speaker, you can use a AAA battery to test. With someone by the speakers, briefly touch the exposed wire ends to the battery terminals; your helper will hear a faint click from the corresponding speaker.
10. Time to test
Once you’re sure everything is connected correctly, it’s time to power up your system and test that everything is working. Play some music, and if you’re happy with the outcome, you can start to seal all the exposed parts to keep them from weathering…
11. Apply sealant
Using your sealant gun, apply the sealant to the speaker terminations, covering any exposed wires (this can be peeled off at a later date if needed). Do the same with any holes in the wall, tidying them up and ensuring everything is weatherproof.
How to keep your outdoor speakers protected
To ensure your speakers last all year round, you’ll first want to choose ones that have a good IP rating. IP44 and IP54 are fine for most usages, but for harsher conditions, we recommend IP65 and IP66.
You’ll also want to keep any exposed speaker terminations water-tight with sealant. Additionally, think about positioning your speakers in areas that are a bit more protected from the elements, such as under a roof or a sheltered corner.
If you’re using outdoor speakers in an area that is completely exposed, look at IP67-certified speakers.
FAQs
What’s the best speaker for outdoors?
The best outdoor speakers are ones with a high IP rating and that are ideal for most conditions, like the Monitor Audio Climate CL50. To see more, check out our guide to the best outdoor speakers.
Can outdoor speakers be left outside?
Outdoor speakers can absolutely be left outside – that’s what they were designed for! Just check the IP certification to ensure they can withstand all the outdoor elements.
Are waterproof speakers really waterproof?
Rather than trusting the word “waterproof”, it’s best to look for the specific IP rating of a speaker. Not all outdoor speakers are fully waterproof, although many are designed to handle occasional splashes. Some models can even handle brief submersion in water, but if you need speakers that are suitable for use in or around water, it’s important to look for an IP67 rating.
Final thoughts
That was a lot to go through, but we hope you now feel more confident in installing your outdoor speakers! We couldn’t cover all speaker types; instead, we chose the option that most people opt for: passive speakers.
If you have any more tips, leave a comment below, or if you want to learn more about setting up your speakers, contact one of our experts here.


0 Comments